Install guide
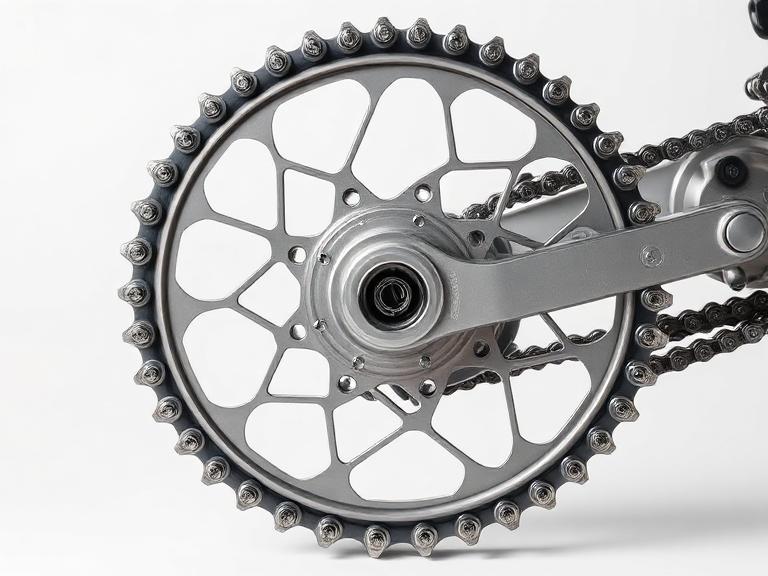
How to replace motorcycle chains and sprockets
90 minutes at home, 1.5 h at a workshop (about $143 in labour at US independent rates). Difficulty: moderate.
Job summary
| DIY time | 90 min |
|---|---|
| Shop labour | 1.5 h |
| Difficulty | Moderate |
| Common pitch | 520 / 525 / 530 |
| Seal type | X-ring outlasts O-ring by roughly 30% |
| Service interval | Clean and lube every 600-800 km |
Step by step
1. Confirm the part fits
Check the part against your exact model year and, where possible, your VIN. Match pitch and link count — 520, 525 or 530 with the OE link count
2. Prepare the bike
Park on level ground, use paddock stands or a centre stand as required, let the engine cool, and disconnect the battery negative if you are touching wiring.
3. Remove the old part
Work in the reverse of assembly order, bagging and labelling fasteners. Expect around 36 minutes here on a moderate job.
4. Fit the new part
Common pitch: 520 / 525 / 530. Fit dry unless the manual calls for grease or thread-lock, and start every fastener by hand.
5. Torque and verify
Torque every fastener to the manual value with a calibrated wrench. Never guess on brake, axle, or engine-mount hardware.
6. Test and re-check
Do a stationary function check, then a slow test ride. Re-check fasteners and settings after the first 100 km.
Do it now if you see these
- Tight spots when rotating the wheel through a full turn
- Hooked or shark-finned sprocket teeth
- Chain that lifts more than half a link off the rear sprocket
- Slack that will not hold adjustment between rides
Check before you start
- Match pitch and link count — 520, 525 or 530 with the OE link count
- Change chain and both sprockets together as a kit
- Set slack to the sticker figure with the bike on its wheels
- Use an O-ring safe lube and clean before every re-lube
Find the right part
Shop chains and sprockets
All brands
Chain & Sprockets prices
By country
Honda CBR600RR
Chain & Sprockets
Kawasaki Ninja 400
Chain & Sprockets
Suzuki GSX-R600
Chain & Sprockets
Yamaha YZF-R1
Chain & Sprockets
Harley-Davidson Sportster 883
Chain & Sprockets
KTM 390 Duke
Chain & Sprockets
BMW S 1000 RR
Chain & Sprockets
Ducati Panigale V4
Chain & Sprockets
Triumph Street Triple
Chain & Sprockets
FAQ
How long does a motorcycle chain last?
A well-maintained X-ring chain runs 25,000-35,000 km. Neglected lubrication can cut that below 10,000 km.