Install guide
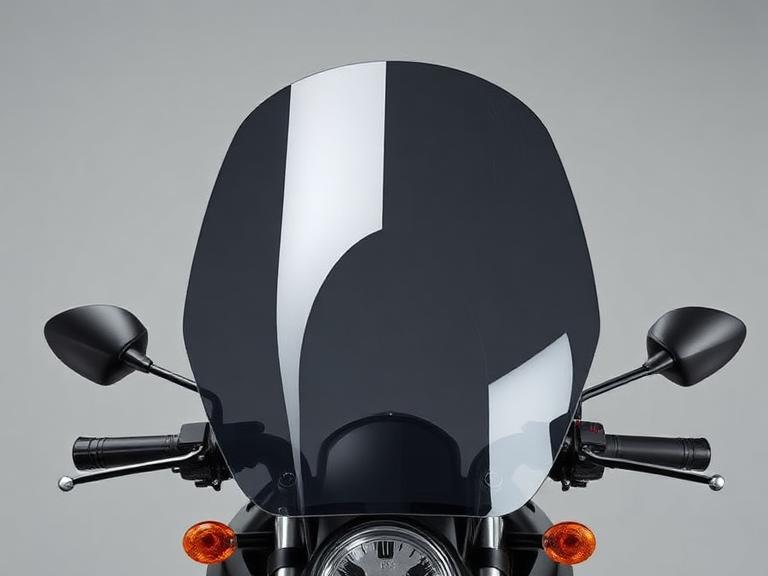
How to replace motorcycle windscreens
20 minutes at home, 0.3 h at a workshop (about $29 in labour at US independent rates). Difficulty: easy.
Job summary
| DIY time | 20 min |
|---|---|
| Shop labour | 0.3 h |
| Difficulty | Easy |
| Material | 3mm cast acrylic or polycarbonate |
| Mounting | 4-6 point bolt-on with well-nuts |
| Height range | Sport -50mm to touring +150mm over stock |
Step by step
1. Confirm the part fits
Check the part against your exact model year and, where possible, your VIN. Match the screen to your riding position, not just your bike
2. Prepare the bike
Park on level ground, use paddock stands or a centre stand as required, let the engine cool, and disconnect the battery negative if you are touching wiring.
3. Remove the old part
Work in the reverse of assembly order, bagging and labelling fasteners. Expect around 8 minutes here on a easy job.
4. Fit the new part
Material: 3mm cast acrylic or polycarbonate. Fit dry unless the manual calls for grease or thread-lock, and start every fastener by hand.
5. Torque and verify
Torque every fastener to the manual value with a calibrated wrench. Never guess on brake, axle, or engine-mount hardware.
6. Test and re-check
Do a stationary function check, then a slow test ride. Re-check fasteners and settings after the first 100 km.
Do it now if you see these
- Buffeting or helmet noise above 100 km/h
- Crazing, scratches or hazing that scatters light at night
- Cracks radiating from mounting holes
Check before you start
- Match the screen to your riding position, not just your bike
- Check hole spacing against the stock screen before ordering
- Reuse or replace the rubber well-nuts — overtightening cracks screens
- Tinted screens are legal for wind protection but should not obscure headlight output
Find the right part
Shop windscreens
All brands
Windscreens prices
By country
Honda CBR600RR
Windscreens
Kawasaki Ninja 400
Windscreens
Suzuki GSX-R600
Windscreens
Yamaha YZF-R1
Windscreens
Harley-Davidson Sportster 883
Windscreens
KTM 390 Duke
Windscreens
BMW S 1000 RR
Windscreens
Ducati Panigale V4
Windscreens
Triumph Street Triple
Windscreens
FAQ
Does a taller screen always mean less noise?
No. Noise is worst when turbulent air hits the base of the helmet. A screen that ends just below your line of sight usually beats a very tall one.