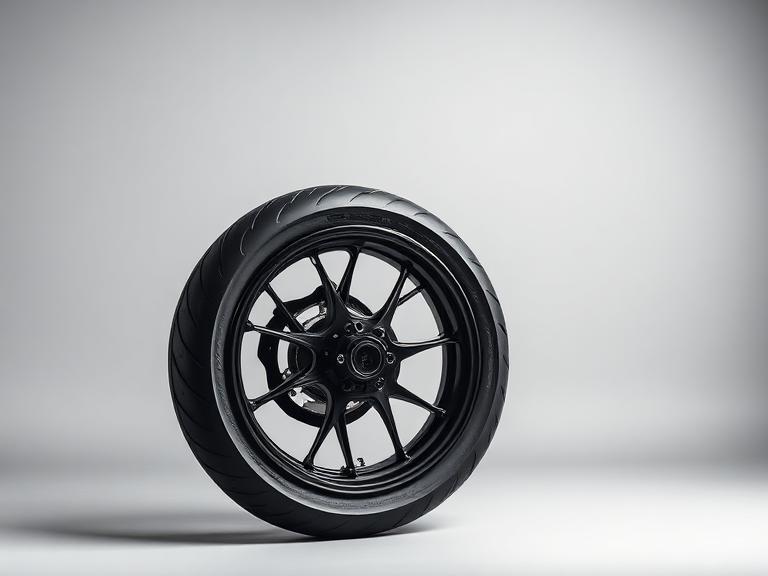
Install guide
How to replace motorcycle tires and wheels
60 minutes at home, 1 h at a workshop (about $95 in labour at US independent rates). Difficulty: advanced.
Job summary
| DIY time | 60 min |
|---|---|
| Shop labour | 1 h |
| Difficulty | Advanced |
| Sizing | e.g. 120/70 ZR17 front, 180/55 ZR17 rear |
| Pressure | Cold, per the swingarm or chain-guard sticker |
| Service life | 5 years from the DOT date code, regardless of tread |
Step by step
1. Confirm the part fits
Check the part against your exact model year and, where possible, your VIN. Match the exact size and load/speed index on the swingarm sticker
2. Prepare the bike
Park on level ground, use paddock stands or a centre stand as required, let the engine cool, and disconnect the battery negative if you are touching wiring.
3. Remove the old part
Work in the reverse of assembly order, bagging and labelling fasteners. Expect around 24 minutes here on a advanced job.
4. Fit the new part
Sizing: e.g. 120/70 ZR17 front, 180/55 ZR17 rear. Fit dry unless the manual calls for grease or thread-lock, and start every fastener by hand.
5. Torque and verify
Torque every fastener to the manual value with a calibrated wrench. Never guess on brake, axle, or engine-mount hardware.
6. Test and re-check
Do a stationary function check, then a slow test ride. Re-check fasteners and settings after the first 100 km.
Do it now if you see these
- Tread under 1.6mm or wear bars flush with the surface
- Squared-off centre profile that makes turn-in vague
- Cracking in the sidewall or a date code over five years old
- Cupping or scalloping across the front tread
Check before you start
- Match the exact size and load/speed index on the swingarm sticker
- Check the DOT date code — buy nothing over two years old
- Fit front and rear as a matched pair from the same range
- Re-torque the axle and re-check pressures after 100 km
Find the right part
Shop tires and wheels
All brands
Tires & Wheels prices
By country
Honda CBR600RR
Tires & Wheels
Kawasaki Ninja 400
Tires & Wheels
Suzuki GSX-R600
Tires & Wheels
Yamaha YZF-R1
Tires & Wheels
Harley-Davidson Sportster 883
Tires & Wheels
KTM 390 Duke
Tires & Wheels
BMW S 1000 RR
Tires & Wheels
Ducati Panigale V4
Tires & Wheels
Triumph Street Triple
Tires & Wheels
FAQ
Can I mix tire brands front and rear?
It works but is not recommended. Profiles differ between makers and mixing them can make the bike run wide or fall into corners.