Install guide
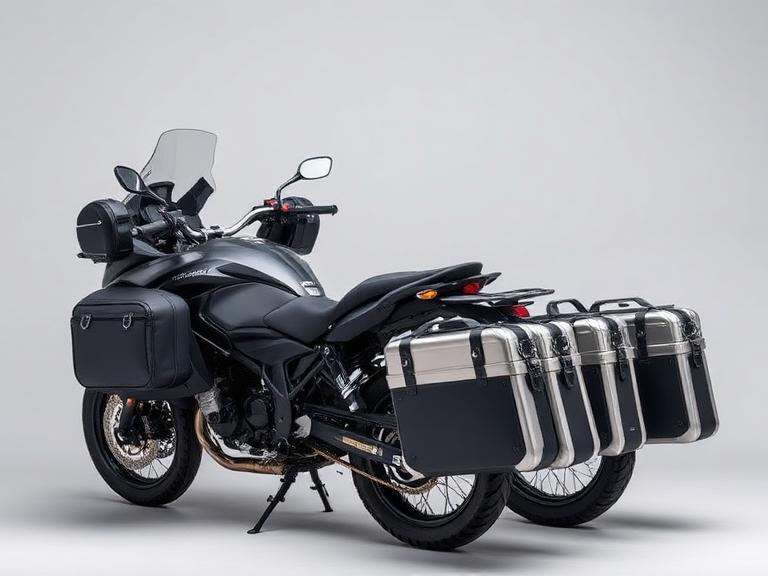
How to replace motorcycle luggage
60 minutes at home, 1 h at a workshop (about $95 in labour at US independent rates). Difficulty: moderate.
Job summary
| DIY time | 60 min |
|---|---|
| Shop labour | 1 h |
| Difficulty | Moderate |
| Rack | Model-specific bolt-on subframe mount |
| Capacity | 20-35L tail, 30-45L per side pannier |
| Load limit | Typically 5-10 kg per side |
Step by step
1. Confirm the part fits
Check the part against your exact model year and, where possible, your VIN. Check the subframe load limit before buying aluminium cases
2. Prepare the bike
Park on level ground, use paddock stands or a centre stand as required, let the engine cool, and disconnect the battery negative if you are touching wiring.
3. Remove the old part
Work in the reverse of assembly order, bagging and labelling fasteners. Expect around 24 minutes here on a moderate job.
4. Fit the new part
Rack: Model-specific bolt-on subframe mount. Fit dry unless the manual calls for grease or thread-lock, and start every fastener by hand.
5. Torque and verify
Torque every fastener to the manual value with a calibrated wrench. Never guess on brake, axle, or engine-mount hardware.
6. Test and re-check
Do a stationary function check, then a slow test ride. Re-check fasteners and settings after the first 100 km.
Do it now if you see these
- Commuting with a backpack that loads your shoulders
- Touring with no waterproof storage
- Existing rack that does not match modern case mounts
Check before you start
- Check the subframe load limit before buying aluminium cases
- Racks are model-specific even when cases are universal
- Roll-top dry bags beat zipped bags with rain covers
- Verify pannier width against filtering and legal limits
Find the right part
FAQ
Do panniers affect handling?
Yes above about 100 km/h. Loaded cases add yaw inertia; add a few PSI to the rear tire and raise preload when touring loaded.