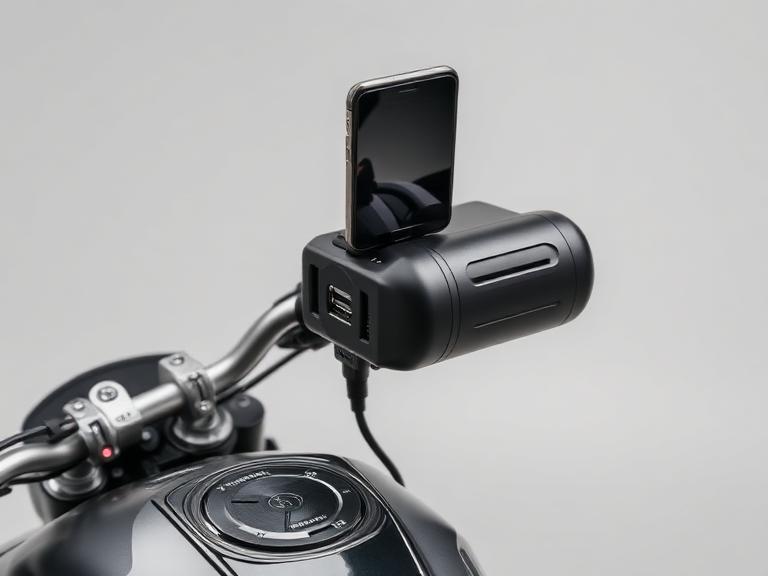
Install guide
How to replace motorcycle electronics
45 minutes at home, 0.8 h at a workshop (about $76 in labour at US independent rates). Difficulty: moderate.
Job summary
| DIY time | 45 min |
|---|---|
| Shop labour | 0.8 h |
| Difficulty | Moderate |
| System voltage | 12V, charging at 13.8-14.6V at 5,000 rpm |
| Battery types | AGM lead-acid or LiFePO4 lithium |
| Accessory fusing | 5-10A inline per circuit |
Step by step
1. Confirm the part fits
Check the part against your exact model year and, where possible, your VIN. Confirm terminal polarity and case size before ordering a battery
2. Prepare the bike
Park on level ground, use paddock stands or a centre stand as required, let the engine cool, and disconnect the battery negative if you are touching wiring.
3. Remove the old part
Work in the reverse of assembly order, bagging and labelling fasteners. Expect around 18 minutes here on a moderate job.
4. Fit the new part
System voltage: 12V, charging at 13.8-14.6V at 5,000 rpm. Fit dry unless the manual calls for grease or thread-lock, and start every fastener by hand.
5. Torque and verify
Torque every fastener to the manual value with a calibrated wrench. Never guess on brake, axle, or engine-mount hardware.
6. Test and re-check
Do a stationary function check, then a slow test ride. Re-check fasteners and settings after the first 100 km.
Do it now if you see these
- Slow cranking or a battery that will not hold charge over winter
- No power outlet for navigation or heated gear
- Corroded terminals or a swollen lead-acid case
Check before you start
- Confirm terminal polarity and case size before ordering a battery
- Lithium batteries need a lithium-compatible charger
- Fuse every accessory circuit within 300mm of the power source
- Use switched power so accessories cannot flatten the battery
Find the right part
Shop electronics
All brands
Electronics prices
By country
Honda CBR600RR
Electronics
Kawasaki Ninja 400
Electronics
Suzuki GSX-R600
Electronics
Yamaha YZF-R1
Electronics
Harley-Davidson Sportster 883
Electronics
KTM 390 Duke
Electronics
BMW S 1000 RR
Electronics
Ducati Panigale V4
Electronics
Triumph Street Triple
Electronics
FAQ
Is a lithium motorcycle battery worth it?
Yes if you ride often and use a lithium-specific charger. For a bike stored all winter on a basic trickle charger, AGM is more forgiving.