Install guide
How to replace motorcycle brake parts
45 minutes at home, 0.8 h at a workshop (about $76 in labour at US independent rates). Difficulty: easy.
Job summary
| DIY time | 45 min |
|---|---|
| Shop labour | 0.8 h |
| Difficulty | Easy |
| Pad compound | Sintered for all-weather bite, organic for quiet low-dust |
| Fluid spec | DOT 4 (DOT 5.1 where specified) — never DOT 5 silicone |
| Disc minimum | Typically 4.0-4.5mm front, stamped on the carrier |
Step by step
1. Confirm the part fits
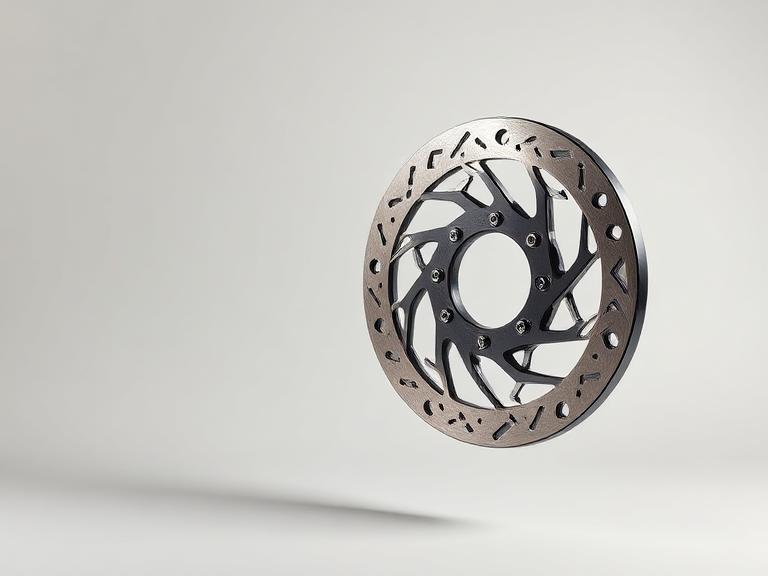
Check the part against your exact model year and, where possible, your VIN. Measure disc thickness against the minimum stamped on the disc carrier
2. Prepare the bike
Park on level ground, use paddock stands or a centre stand as required, let the engine cool, and disconnect the battery negative if you are touching wiring.
3. Remove the old part
Work in the reverse of assembly order, bagging and labelling fasteners. Expect around 18 minutes here on a easy job.
4. Fit the new part
Pad compound: Sintered for all-weather bite, organic for quiet low-dust. Fit dry unless the manual calls for grease or thread-lock, and start every fastener by hand.
5. Torque and verify
Torque every fastener to the manual value with a calibrated wrench. Never guess on brake, axle, or engine-mount hardware.
6. Test and re-check
Do a stationary function check, then a slow test ride. Re-check fasteners and settings after the first 100 km.
Do it now if you see these
- Friction material under 1.5mm or below the wear groove
- Spongy lever that improves after pumping
- Squeal, judder or pulsing under braking
- Brake fluid darker than pale straw
Check before you start
- Measure disc thickness against the minimum stamped on the disc carrier
- Replace pads in axle pairs, never one side only
- Flush DOT 4 fluid every two years regardless of mileage
- Clean and grease the caliper slider pins on the same job
Find the right part
FAQ
How long do motorcycle brake pads last?
Typically 8,000-20,000 km on the front depending on compound and riding style. Track and city stop-start riding sits at the low end.
Do braided lines really help?
Yes. Rubber lines expand under pressure; braided stainless does not, which removes most of the sponge from an older bike's lever.